----
Hello! I read your FAQ and I hope that you havent answered this question before, if so Im sorry! Anywho I was wondering how do you shade / highlight your pictures. Ive been incredibly frustrated with my drawings lately to the point that I wont even finish a drawing. Im forcing myself too but Im still not satisfied. Thank you for all your help! <3
// Art and Reference point

Step by step, this is how I did it:
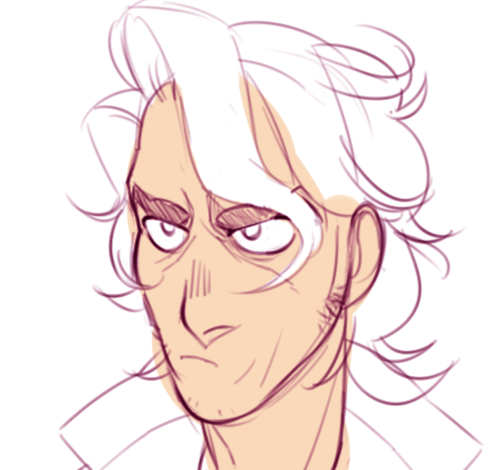
1. I had a sketch on a hot pink layer. I duplicated the sketch, turned the luminescence down, merged it all together. Slapped on a base skintone, merged that with the sketch.
2. I colorpicked a shading tone from the linework that ended up being like a vaguely purply-peach color. I made a little palette on the side for colors I'd be working with. Also, I'm painting all of this entirely on one layer so that's something to keep in mind.
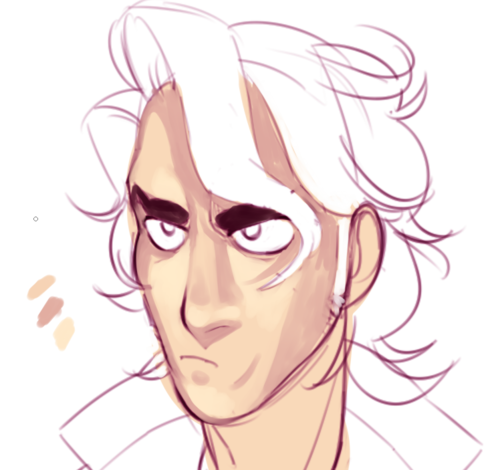
3. Grabbed some more colors for my shading palette from the linework + base color layer. Started playing with highlights as well.

4. Started blocking in where I wanted darker colors for the shading and kept on blending the highlights.

5. blend blend blend blend colourpick blend blend colourpick blend etc etc ad nauseum
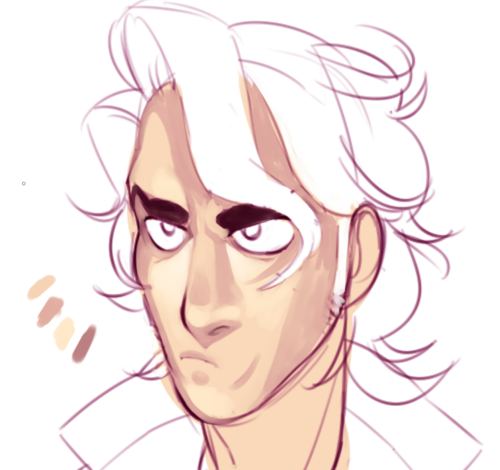
6. thought the colours were looking a little washed out, so i duplicated the layer, set the duplicated layer to shade, turned it down to like 11% opacity, hue shifted it to be more peachy/pink.
7. decided it was TOO pink, hue shifted it to be more neutral/yellow.

8. shade shade shade blend blend colourpick define highlights define details define define define. Opacity of my brush was varying a LOT here, like fluctuating every 7-10 strokes.

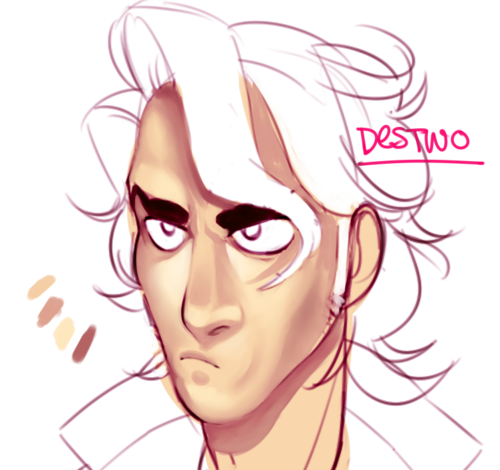
9. LE YEUX!
10. more defining. I narrowed the bridge of his nose a little and added more highlights.

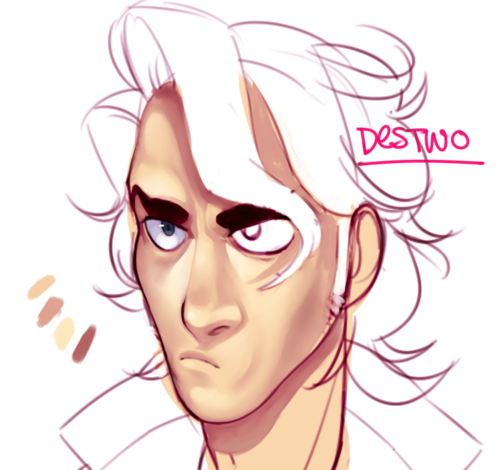
11. LES YEUX! Deux yeux. Also more shading, hon hon hon.

12. Eyes are done. i think that's the only thing thats changed here.
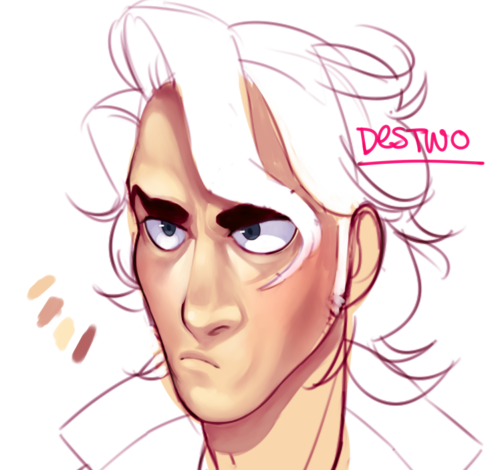
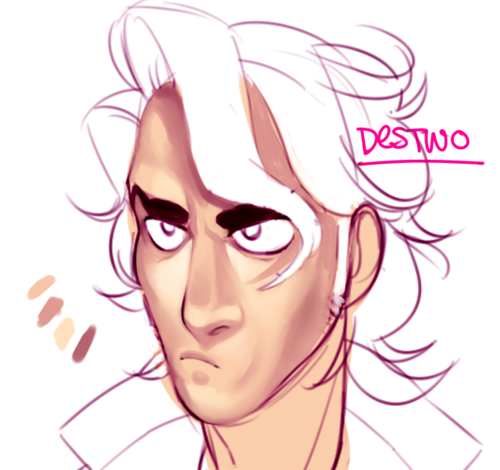
13. Alors, he is looking like he's got some life in him now. This was a multiply layer, 100%, veeeery pale pink fluffed out with white.
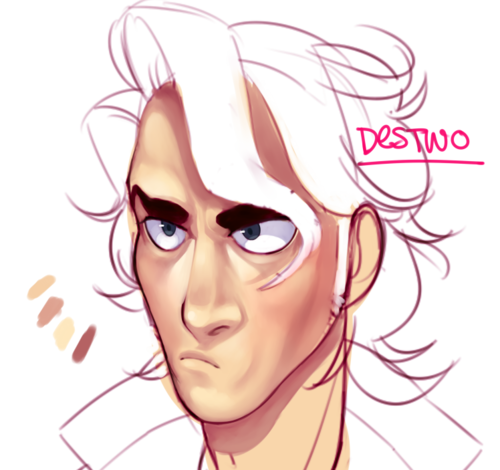
14. And we're done. This layer was a little bit of highlighting on the apples of his cheeks, around his eyes a bit more, I think I adjusted the weird neck-saddle shadow he's got going on there, annnnd that's about it!
Hope that helped!
----
Shared via my feedly reader
Sent from my iPad
No comments:
Post a Comment